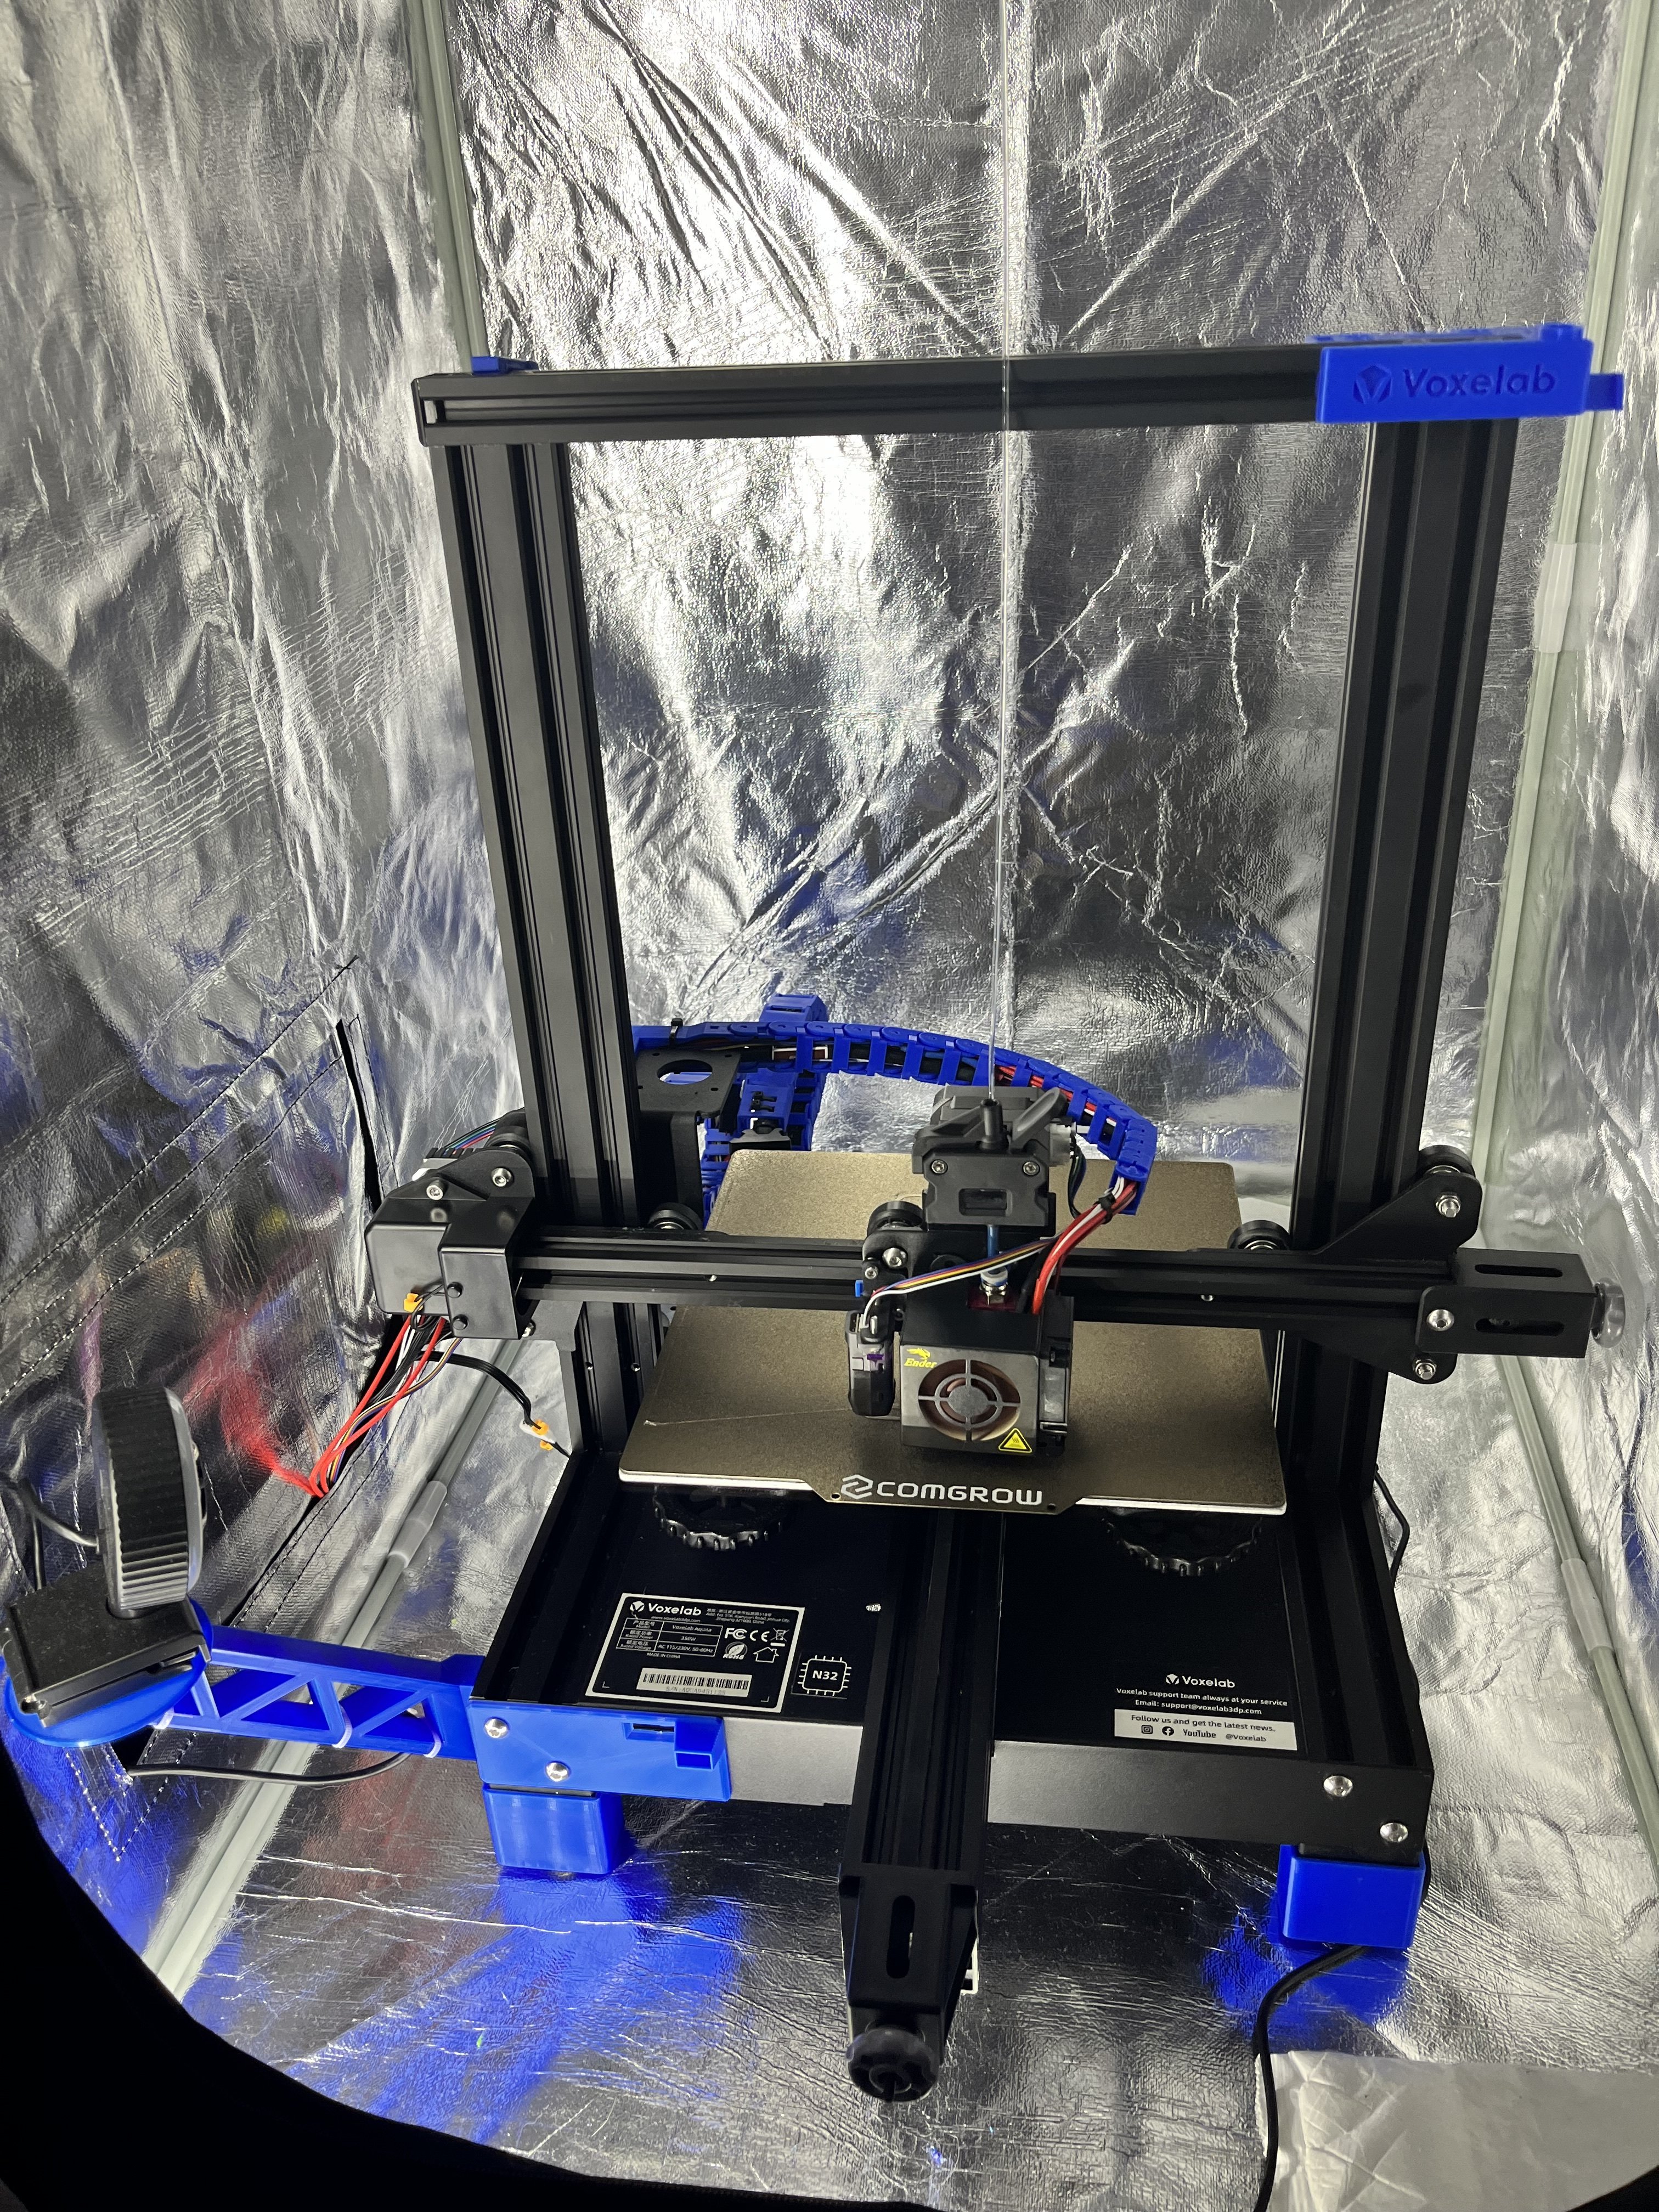
Not so standard anymore Voxelab Aquila
Not so standard anymore Voxelab Aquila
I thought it might be interesting for anyone planning to upgrade their standard Voxelab Aquila to see what I did to mine. Print quality increased much, even though there are printers that are even better (of course).
I got this one back when it was on sale at amazon for around 150€. I wasn’t planning on getting a 3D printer and had absolutely no idea what rabbit hole I am going to fall into. I just got a bonus at work at that time and thought „why not“. Since then I thought about upgrading to a better printer a few times, but as I became father two times in the last two years I always decided on saving the money and just go with some improvements for my Aquila. So over time it transformed into what you can see here.
I will try to list all of the upgrades, but I might forget some. So if you have any questions, feel free to ask.
Upgrades:
- DirectDrive
Creality Offiziell Sprite Direct Drive Extruder SE für Ender 3/Ender 3 V2/Ender 3 Pro/Ender 5/Ender 5 Pro/CR-10, Edelstahl Dual Gear Upgrade Ender 3 Extruder, Unterstützt die Meisten Hotend https://amzn.eu/d/1lhH7JU
-
Ender 3 Pully Backplate with official Ender 3 Hotend Kit (got this one as I had some serious trouble with my Hotend not extruding anymore as filament got stuck. Turned out I have to leave the enclosure open for PLA… But I just leave it as it is now)
-
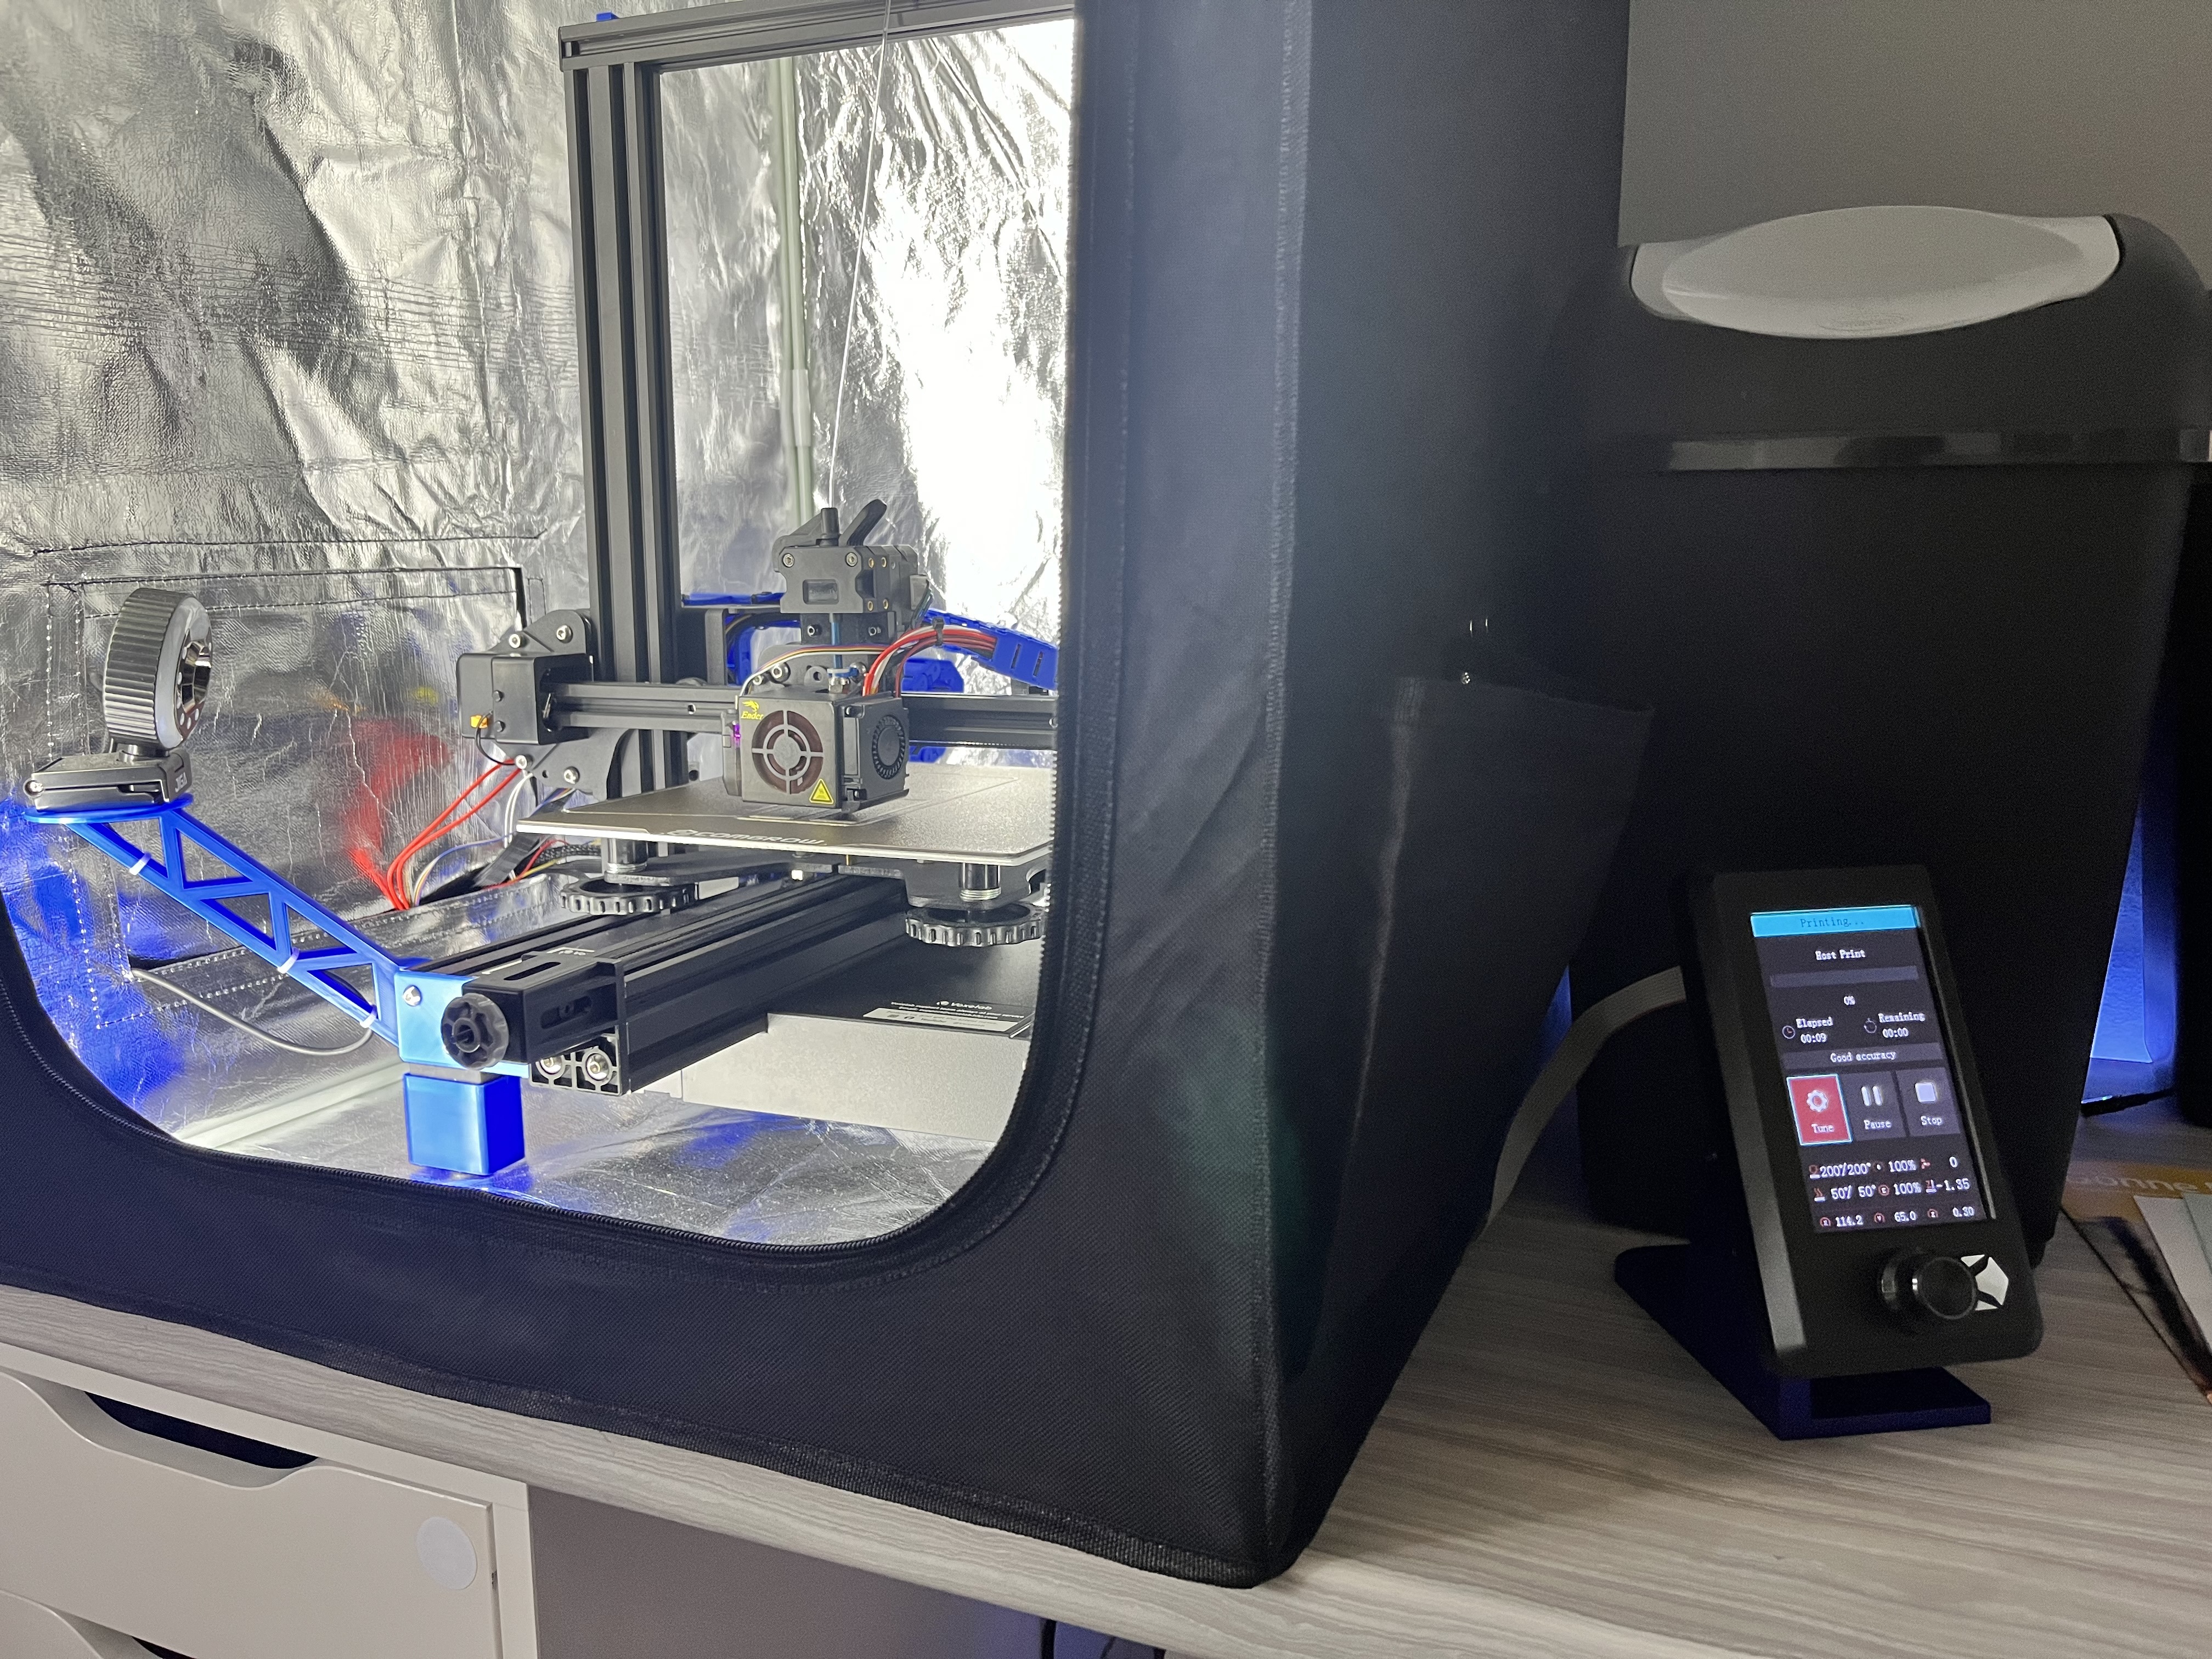
Enclosure
SUNLU 3D-Drucker-Gehäuse, konstante 3D-Drucktemperatur für ABS 3D-Drucker-Filament, Ender 3/3 PRO 3D-Drucker-Gehäuse, bietet viel Platz, feuerfest, Größe 650 * 550 * 750mm https://amzn.eu/d/eHXB8Kb
- Filament Dryer as direct Feed
eSUN Trockenbox für 3D Drucker Filament, eBOX Lite 3D Drucker Hält das Filament Trockenbox, Staubdicht und Feuchtigkeitsdicht, Kompatibel mit 1.75mm, 2.85mm, 3.00mm Filament https://amzn.eu/d/idSAFa2
- PEI printed
COMGROW PEI Sheet 235x235mm, Pei Druckplatte for Creality Ender 3 Pro/Ender 3 V2/Ender 3 S1/Ender 3 S1 Pro/Ender 3 Neo/Ender 3 V2 Neo/Voxelab Aquila 3D Drucker https://amzn.eu/d/0GWosXC
- Placed the display outside the enclosure using an enlargement cable
POPESQ® 1 STK. x IDC Verlängerungskabel 10 polig 50cm 2.54mm Verbinder / 1 pcs. x IDC Extension Cable 10 Way 50cm 2.54mm Connector #A1917 https://amzn.eu/d/iPmrouH
-
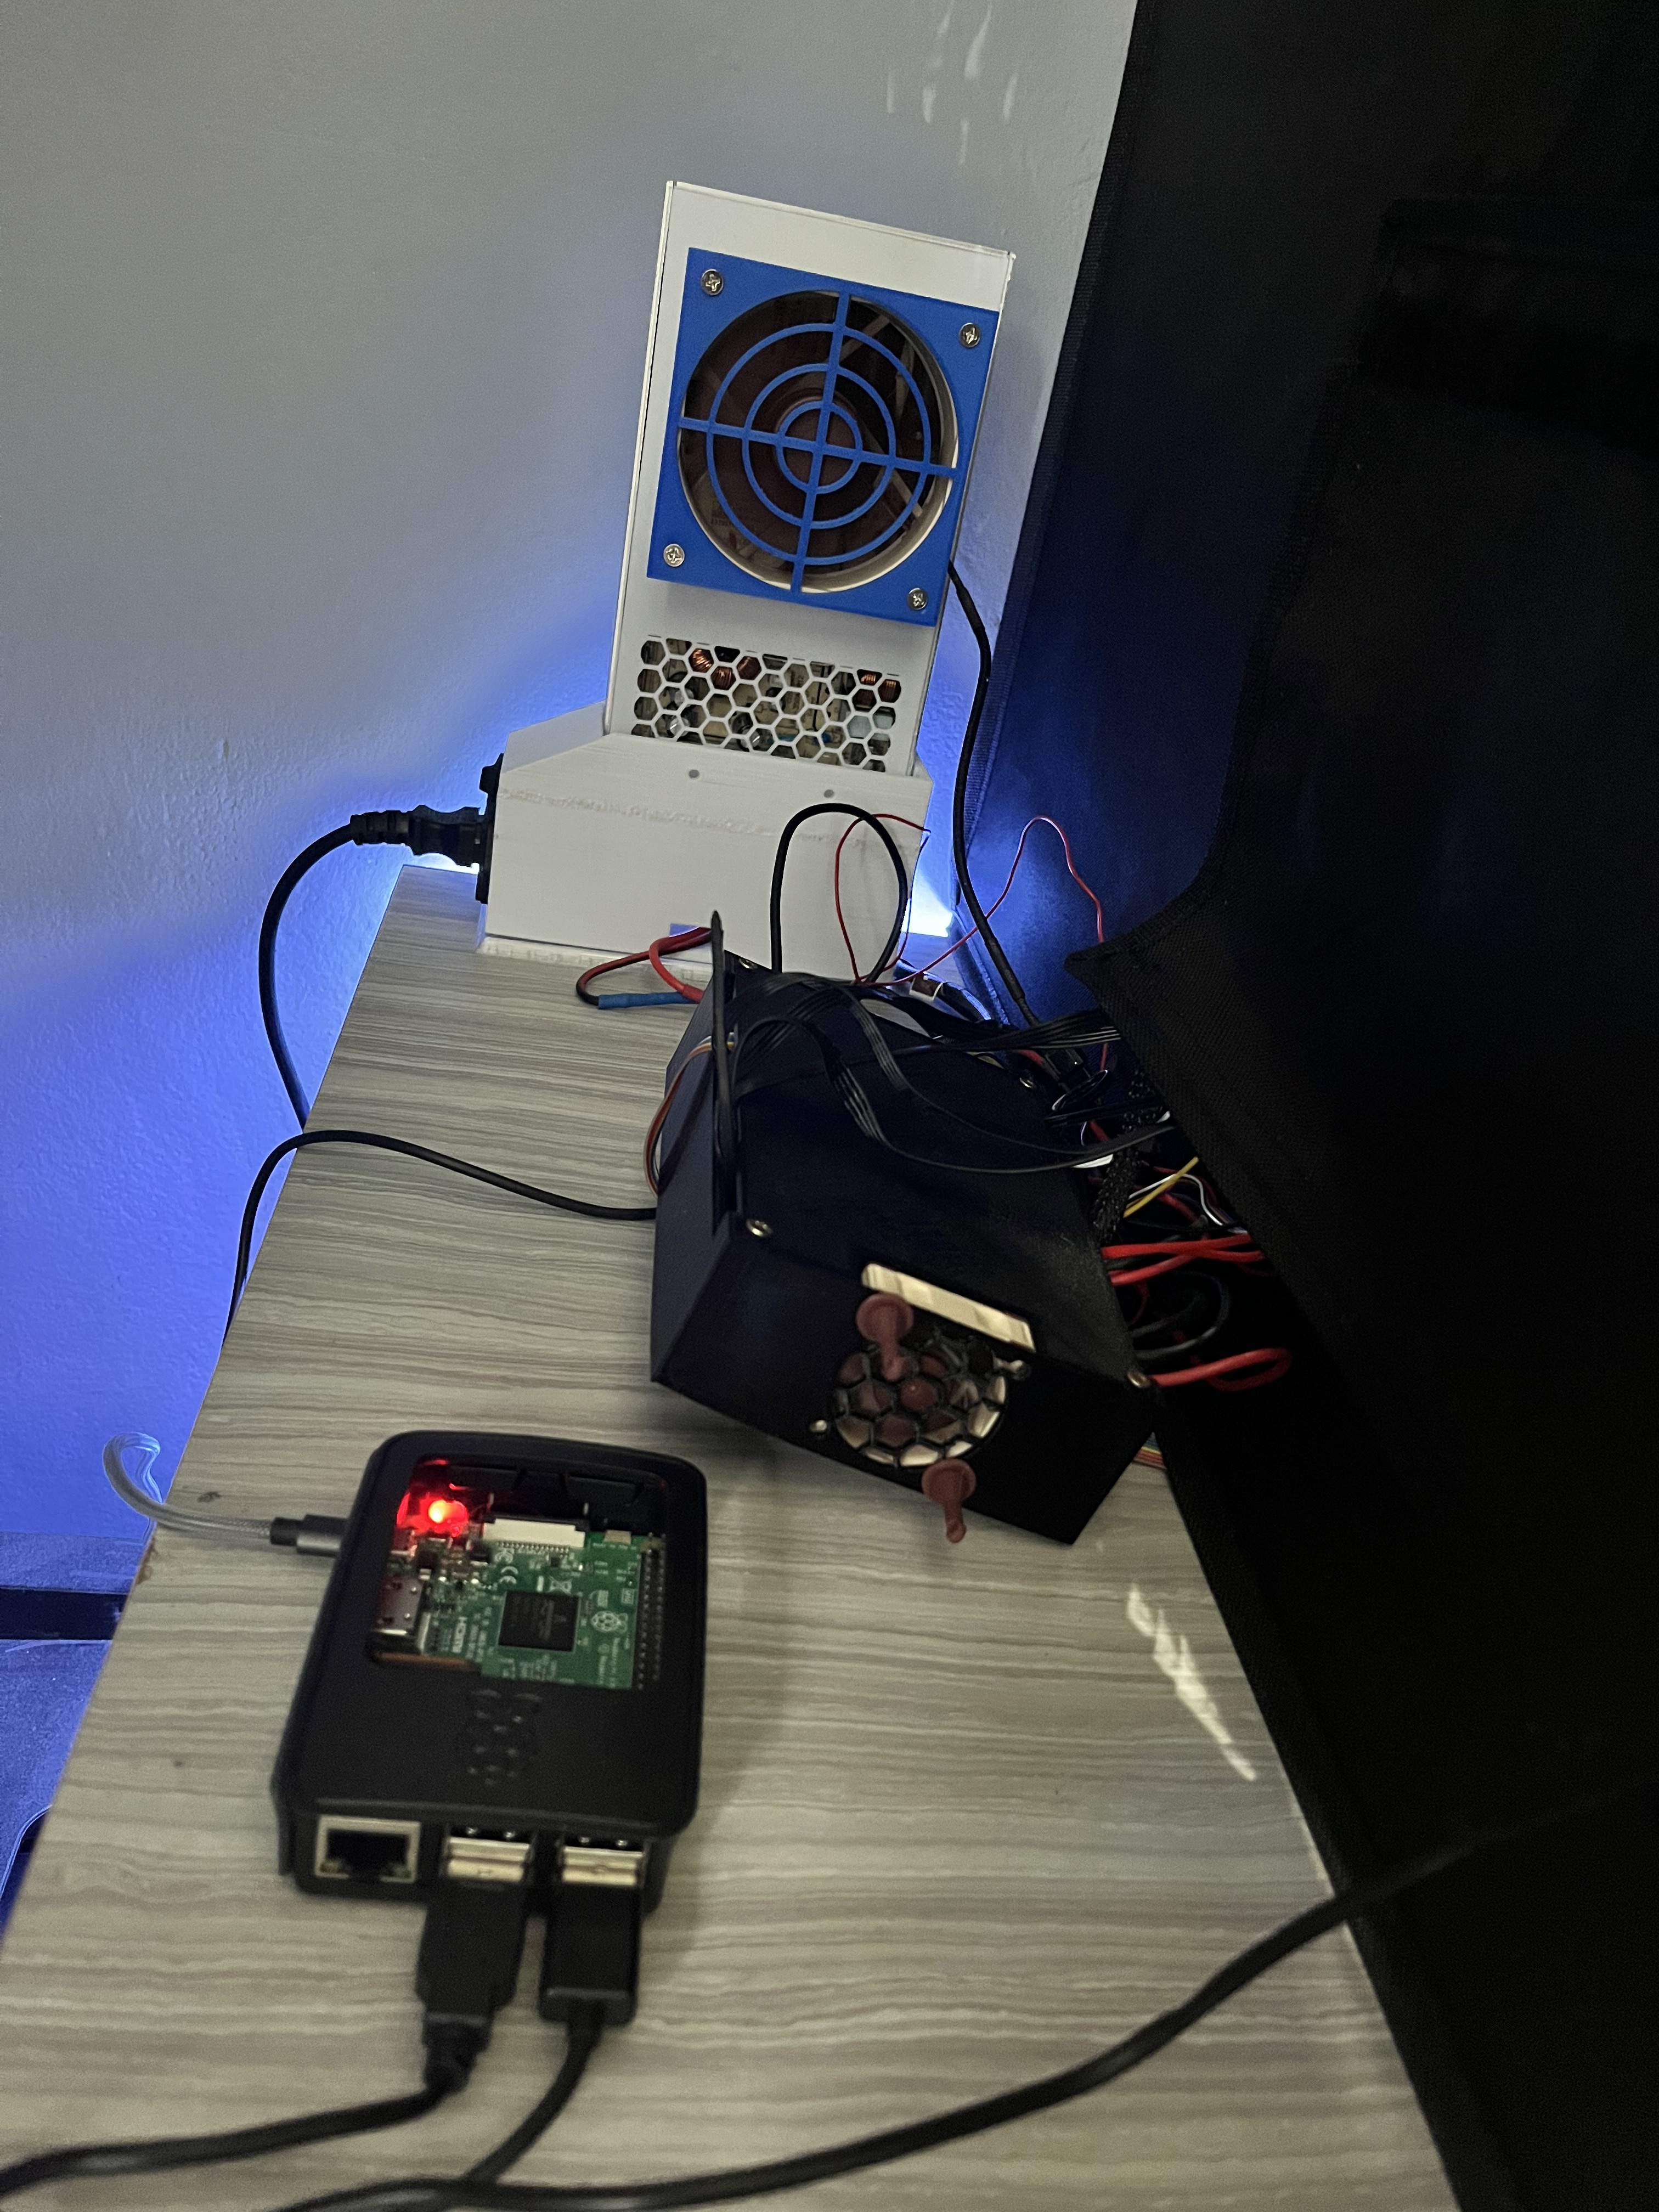
Placed MainBoard and PSU outside the enclosure using some printed parts to protect them (and myself because I tend to touch it accidentally)
-
Raspberry Pi 3B+ running Octoprint
-
Some cheap webcam to have an eye on my prints using Obico with Octoprint
-
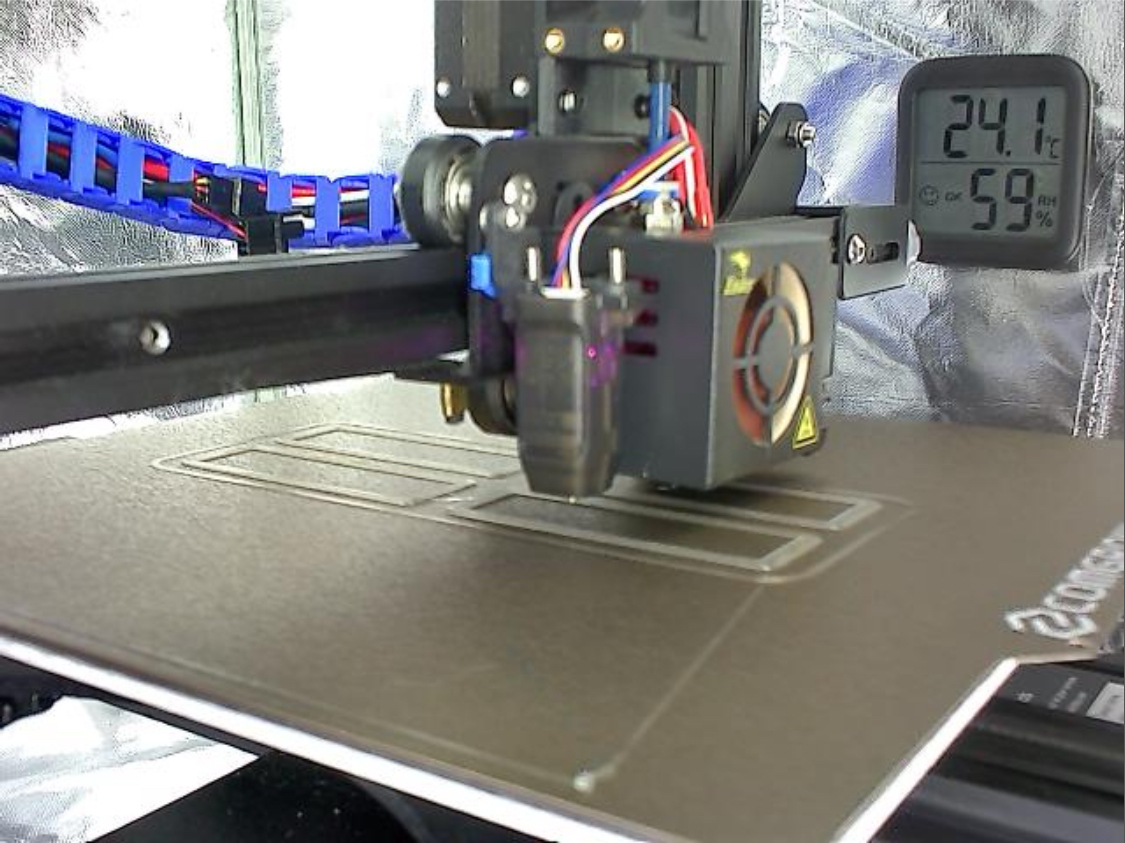
Temperature and Humidity Sensor I placed inside the enclosure to have an eye on it over the webcam
-
3D Printed parts
Riser feet for better airflow (might be outdated because of the electronics now being placed outside the enclosure). Webcam Mount, cable chain, LCD mount, Filament Dryer shelf, MainBoard and PSU enclosures.
Here are some additional more detailed pictures:
The webcam view:
I am not happy with how the electronics are placed outside right now as it looks kinda improvised (what it is…), but I didn’t want to enlarge all of the cables. Maybe that’s work for future upgrade time.
So as I said, if there are questions I am happy to try to answer as helpful as I can :)
Love the small dustbins though!
Oh yes, me too :D I got one for the waste of each material I am printing. PLA, PETG and TPU
Could you point me to the STL for the external electronics housing?
Of course! Here is the PSU Foot:
https://www.thingiverse.com/thing:5793825
For my PSU it was a bit too thick, but I managed to mount it anyway.
Here is the Cover I made myself:
https://www.printables.com/de/model/601820-voxelab-aquila-psu-cover-for-92mm-fans
And fan cover is just some basic 92mm cover, there are plenty out there.
The Mainboard housing also is my own creation, but I failed horribly with the screw holes for the board, so I strapped it in there using cable ties for now. I have to make another version some day that is good enough to be uploaded.